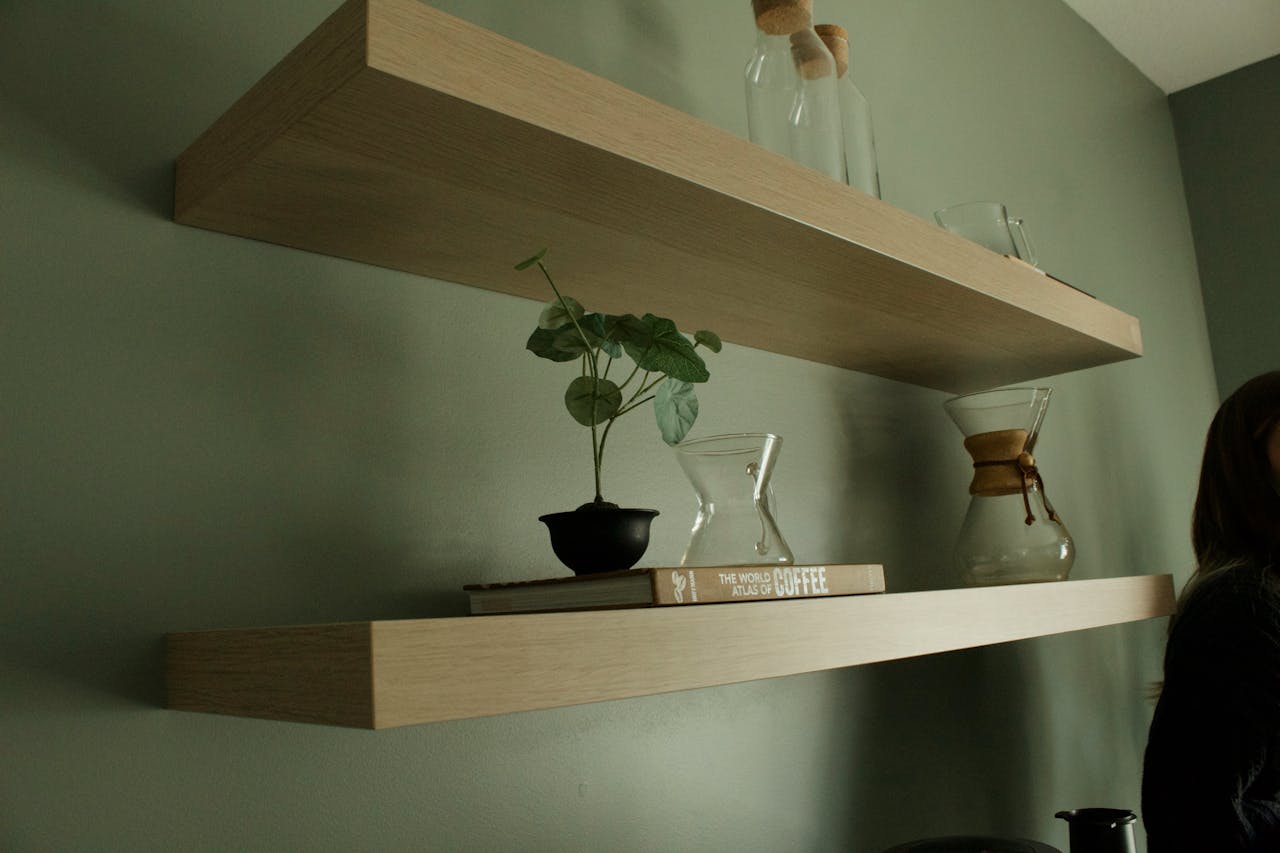
A floating shelf that leans, tilts, or looks off-center can throw off the whole look of a room. Whether it’s mounted slightly crooked or sagging on one side, an uneven shelf is more than just an eyesore. It can mess with how the shelf actually works. Books slide, collectibles lean, and over time, the weight can pull things even more out of alignment. The whole point of having something custom-made is so it looks right and fits clean. So when it doesn’t, it can be frustrating.
That’s why getting floating shelves installed evenly from the start really matters. How the shelf lines up with the wall, how it’s supported underneath, and even how things are placed on top plays a role. Sometimes, things go sideways because one detail got skipped during setup. The good news is that these kinds of problems can be fixed and often prevented. Here’s how to figure out what’s going wrong and what to do to make it right.
Identifying Common Causes of Uneven Shelves
Before pulling out tools, it's useful to know why a shelf might look off in the first place. Sometimes the issue is clear once you step back and look at it. Other times, the shelf can look fine alone but tilt or lean once you start placing items on it. Here are a few common reasons that usually cause trouble:
- Measurements weren’t exact: Even being off by a quarter inch between bracket holes can make the entire shelf slant. Measuring from multiple points without using a level can throw things off, especially on longer shelves.
- The wall isn’t flat: Walls might have slight dips or bumps, especially in older homes. That affects how the brackets make contact and can create gaps, making one end sit out further than the other.
- Brackets weren’t installed correctly: If the support underneath isn’t tight, strong, or properly spaced, a shelf may twist over time. Some brackets can also loosen from vibration or repeated use.
- Weight isn't balanced: Putting heavier things on one side of the shelf can start to pull one end lower. When paired with softer wood or weak attachment points, that can make a noticeable tilt fast.
Spotting these issues early can save time. Whether it comes down to a measuring error or a surprise twist in the wall, each of these things can be addressed and fixed with a few careful steps.
Pre-Installation Checks and Preparations
A solid install starts before you ever touch a drill. That means measuring, checking, and double-checking your setup before you anchor anything to the wall. Taking extra time here goes a long way in avoiding problems later. Even if a shelf is custom-made for a space, how it's installed matters just as much as how well it's built.
Here’s a simple checklist to follow before installing:
1. Measure the shelf length and placement spot
Mark the height where the shelf will go, and then use a measuring tape to draw your first guide line on the wall with a pencil. Always measure twice from the floor or ceiling—not just one edge of the wall—so you know everything will line up visually.
2. Use a quality level
A bubble level or digital level keeps everything straight. Align your guide marks with the level and make sure you get a clean, straight line. If you’re using a longer shelf, get a longer level. Short ones can mislead you over a wider space.
3. Find studs and pick the best spot
If possible, anchor directly into wall studs for strong support. Use a stud finder to mark these accurately. Trying to install brackets into drywall alone often leads to sagging or instability later, especially with solid wood shelves.
4. Get all tools and parts ready first
Before drilling, make sure brackets, anchors, screws, and tools are all within arm's reach. Having everything ready cuts down on mistakes that happen when you’re rushing or switching back and forth between tasks.
Skipping any of these steps makes an uneven result more likely. Even a well-cut shelf can’t stay straight if the wall’s off or the brackets aren’t placed right. Taking a few extra minutes now is always better than having to pull the whole thing down later. One customer later admitted they leveled against a baseboard that wasn’t actually even with the floor. The shelf looked okay until you saw it next to the window trim. Then, the slant was pretty obvious. A quick check with a longer level fixed it the second time around.
Step-by-Step Guide to Fixing an Uneven Shelf
When a shelf ends up looking slanted or starts pulling away from the wall, the fix depends on what caused the issue in the first place. The earlier you catch it, the easier it is to bring things back in line.
Start by carefully removing the shelf. Don’t force it or rush. If it’s anchored to drywall without studs, it’s even more important to go slow so you don’t damage the wall. Take a close look at the brackets, screws, and wall anchors. Check if anything’s loose, bent, or not level.
Now you can make small, focused adjustments:
1. Re-check the wall line
Grab your level again and confirm that your pencil guide line is still straight. If the wall has a bow or bump, you’ll need to work around it. Sometimes adding thin shims behind the bracket can help even things out.
2. Adjust or move brackets
If the original holes aren’t perfectly placed, measure again from the same reference point on both sides and re-drill. Even moving a bracket just half an inch can level things up.
3. Use stronger anchors or screws
If the hardware doesn’t feel snug, swap it out for something stronger. For heavy custom floating shelves, toggle bolts or molly anchors often work better than plastic wall plugs.
4. Redistribute items once mounted
Once the shelf is back up, don’t load everything onto one side. Keep heavy items toward the middle or spread them out. It helps reduce strain and keeps the shelf balanced over time. Lightweight décor can fill in the outer edges.
If you end up with extra visible holes from shifting the brackets, patch with wall filler and paint over them once everything's stable. A homeowner once sent in a photo of their study where one side of the shelf kept dipping. Turns out, it was installed into old drywall without hitting any studs. After re-anchoring into the frame using better hardware, the shelf lined up right and stayed that way. Sometimes the fix is simple. Other times it means taking things down and starting fresh, but it’s always worth it.
Preventative Tips for Future Installations
When you’ve gone through the trouble of fixing a crooked shelf, the last thing you want is for it to happen again. The steps you follow before and during installation make all the difference. Doing it right the first time helps you enjoy the shelf for years without having to wrestle with it again.
Here are a few habits to keep in mind for future installs:
- Double check your measurements with both a tape measure and a level
- Always drill pilot holes first to guide screws straight into place
- Try to hit at least one stud or use better wall anchors if you can’t
- Never assume baseboards or ceiling lines are perfectly straight. Always use a separate level
- Use painter's tape or chalk to mark guidelines instead of a heavy pencil line that needs cleaning afterward
And don’t forget to give a quick check-up every few months. Even if the shelf felt solid at first, humidity or wall settling can affect hardware over time. A quick peek behind the shelf or a slight nudge test tells you if anything's started to budge. Keeping an eye on it now saves you bigger fixes later.
Making Sure Your Custom Floating Shelves Stay Straight
Once everything’s straight and secure, it’s a good idea to make sure it stays that way. Just like anything else in the home, floating shelves benefit from a little occasional attention. Tightening up screws, checking for shifts in weight placement, or making sure the wall hasn’t flexed can all help keep things locked in place over the years.
The key takeaway is this: the best-looking shelf won’t matter if it’s not mounted right. From measuring to mounting to moving your stuff around, every small choice adds up. While uneven shelves are annoying, they’re almost always fixable. Knowing how to spot the early signs and how to correct them puts you way ahead. Once that shelf is lined up and holding steady, you can relax and enjoy the space it adds without worrying it’s going to sag or shift again.
If you’re looking for shelf designs that match both your style and daily use, take a look at our custom floating shelves made to order at The Mortise & The Hare. Each one brings strong support and clean lines to your space, without compromising on craftsmanship.
Share:
Weight Distribution Tips for Strong Kitchen Floating Shelves
Why Is My Floating Shelf with Gallery Rail Wobbling