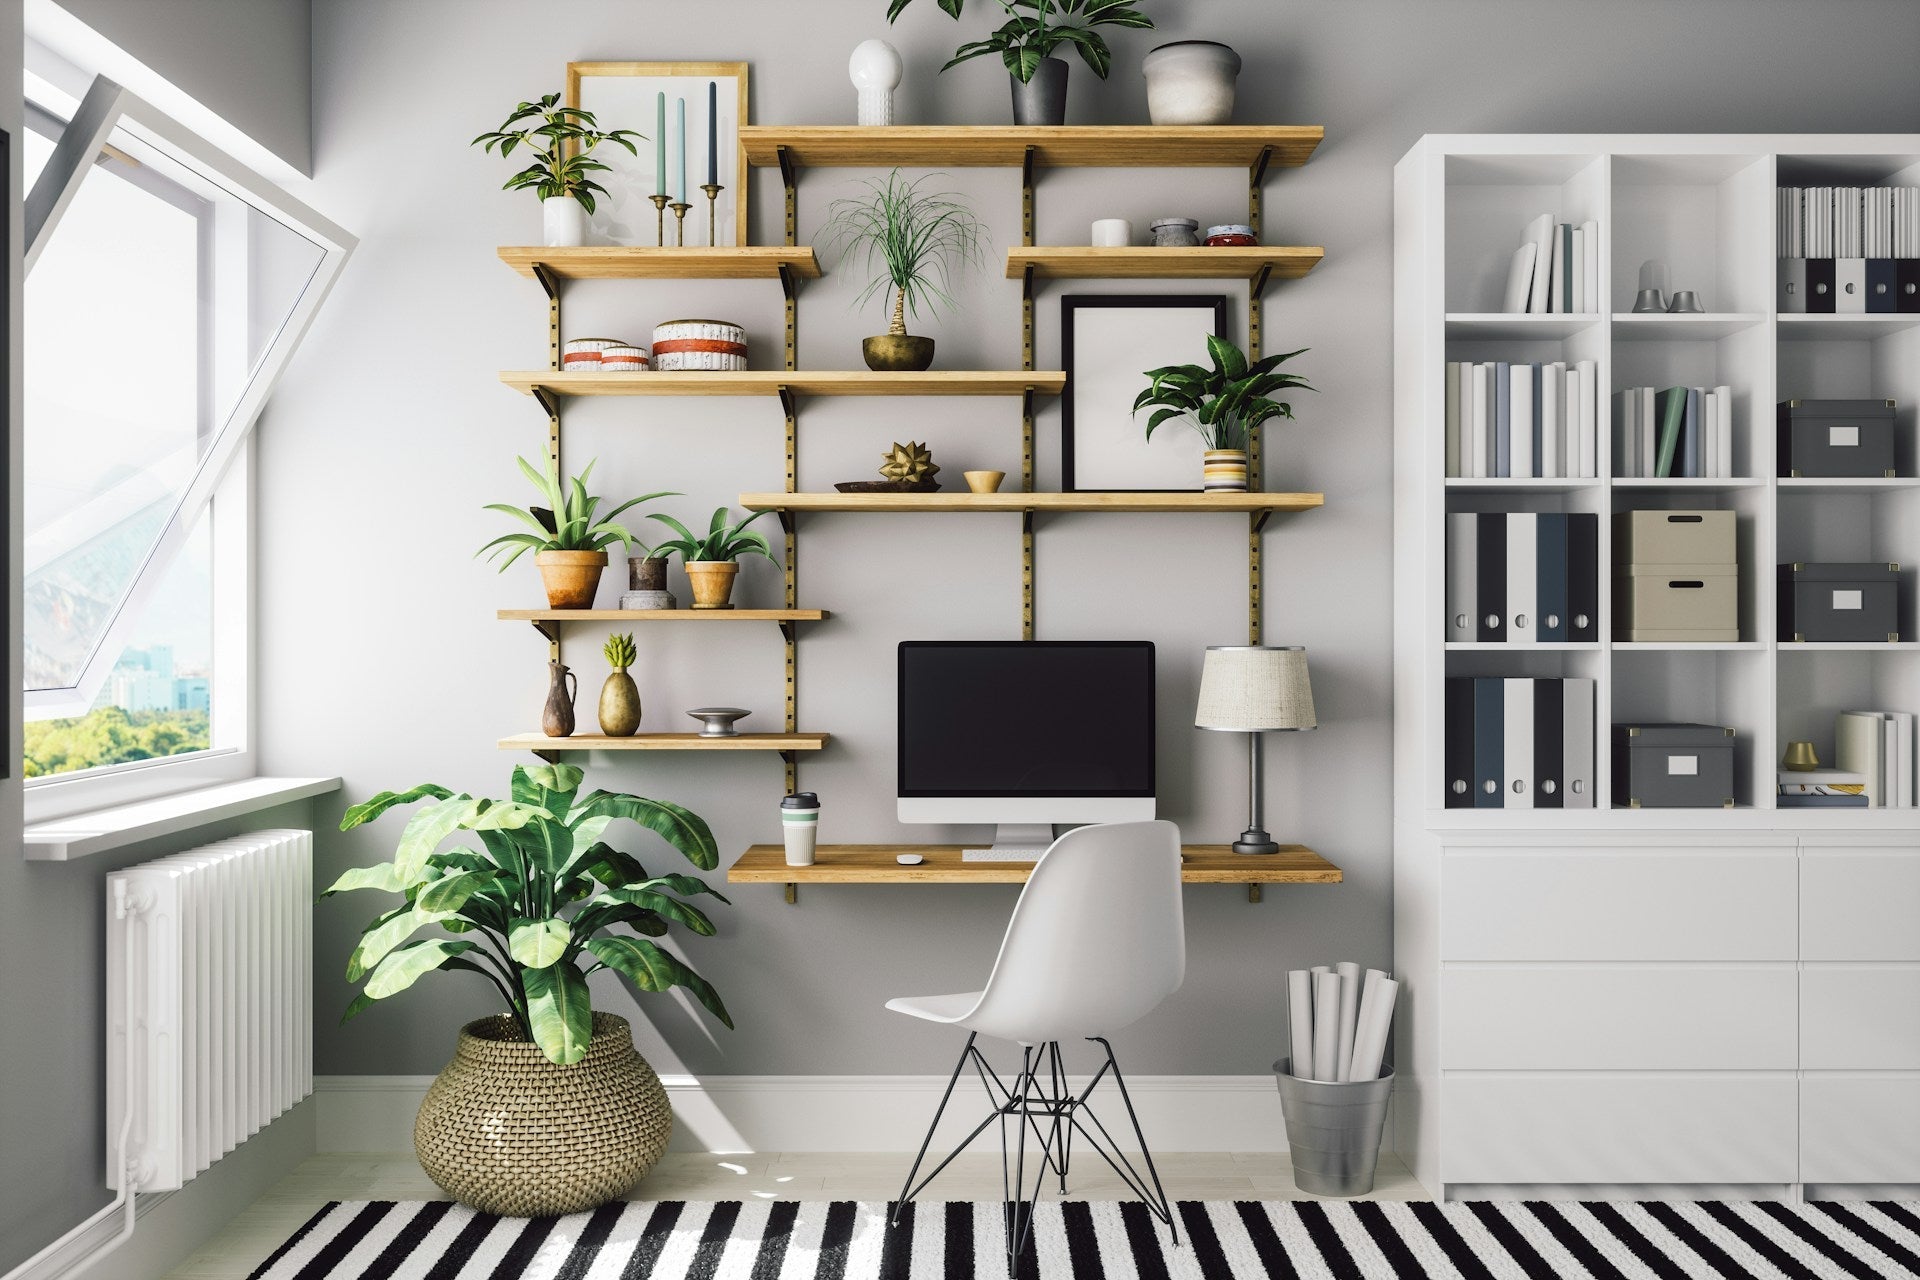
HOVR floating shelves are known for their hidden bracket system that gives a clean, modern look without bulky support hardware. They’re strong, sleek, and built to hold serious weight. But when something looks off, like a shelf tilting forward or not sitting flush against the wall, it can take away from all that design effort. Even small misalignments can stand out, especially against flat surfaces like tile, drywall, or paneling.
Getting the alignment right matters for more than just appearance. If something isn’t properly supported or installed, it can shift over time. That means crooked lines, wobbly brackets, and sometimes even damage to the wall or the shelf itself. Here, we’re breaking down a few common reasons HOVR floating shelves end up out of line and sharing what can be done to fix or prevent those typical issues.
Misaligned Brackets and How to Avoid Them
Brackets are the backbone of the HOVR system. They’re what hold the shelf in place and make the floating part possible. But when a bracket is a little too high, a bit off-center, or not parallel with the floor, the whole shelf can end up tilted or uneven. And once you start loading it with books or decor, the weight exaggerates the problem.
To avoid bracket issues, it’s worth spending extra time before you drill. Here's what helps:
- Find a reference point that’s dependable. Don’t use the floor or ceiling unless you’re sure those lines are level.
- Use a reliable bubble level or digital level across your pencil marks. Check it again after each mark.
- Mark your pilot holes with a pencil, then double check the spacing with a tape measure.
- When drilling, go slowly, especially on softer materials like drywall, to avoid bracket movement.
Even when your measurements are good, a misalignment can happen because of the surface underneath. That leads into the next problem: wall irregularities.
How Uneven Walls Can Affect Shelf Position
Not every wall is flat, especially in older homes where drywall may have shifted or warped. A surface that curves or dips can throw off your shelf alignment even if your bracket placement is perfect. It’s frustrating to step back and see a shelf lifting from one corner or notice a visible gap against the wall.
Before installation, check for flatness. Use a level placed directly on the wall and gauge whether it tilts or if you see light through any gaps. If you find dips or bulges, don’t stress. You can address the issue a few ways:
- Use thin shims behind sections of the bracket to make up for indentations in the wall.
- Sand down or smooth minor high spots so both ends of the bracket sit flush.
- If possible, shift the installation to a part of the wall that’s more level.
One install we worked on involved a shelf that leaned every time it was put back up. After multiple attempts, the culprit ended up being an old patch underneath some paint. A couple of well-placed shims finally solved it and the shelf stayed flush.
Wall prep matters more than it might seem, and a quick inspection could save you hours later.
Why Weight Distribution Matters More Than You Think
Once your shelf looks straight and is tightly secured to the wall, the job might feel done. But shelving loses its clean, level look pretty quickly if the contents on top aren’t distributed right. HOVR shelves rely on evenly applied weight to maintain their stability. The design uses brackets and rods that perform best when the pressure is spread across the system.
When you load up just one end with heavy items, it sets off a slow lean or can cause the wall-side of the shelf to pull away. The fix? Just keep things centered and balanced. Here's how:
- Place heavier items near the spots where the brackets are mounted.
- Decorate outer ends with lighter pieces like framed pictures or small plants.
- Move things around occasionally if your decor changes throughout the year.
- Avoid stacking heavy objects unless they’re over solid support zones.
- If the bracket positions aren’t clear, tap the underside of the shelf lightly to find them.
There was a customer once who reported a periodic tilt on their kitchen shelf. After checking the wall and brackets, the issue came down to a stack of ceramic mugs pushed entirely to one side. Rebalancing the setup with heavier pieces in the center got everything straight again.
Anchor Choice Makes a Big Difference
A shelf is only as stable as the thing holding it to the wall. Anchors are easy to overlook, but using the right ones can make or break your installation. It’s a detail that often gets skipped, especially if someone is used to just drilling a hole and popping in a screw.
Drywall, masonry, and plaster all need different support systems. Here’s how to avoid common anchor mistakes:
- For drywall: When you can’t hit a stud, use toggle bolts meant for hollow walls.
- For wood studs: Skip the anchor and go straight into the stud with a lag screw.
- For concrete or brick: Use anchors made specifically for masonry—either sleeve or wedge anchors.
- Don’t use basic plastic plugs for heavy shelves. They’re prone to slipping or breaking with time.
Pre-drill your holes using the right size bit and go deep enough that the anchor sits tight. If the anchor wiggles or isn’t flush with the bracket, it’s not going to give the right support. When things start drifting over time, failing anchors are often the first problem to blame.
We’ve seen installs look flawless at first, only to have one side droop after a few weeks. In most of those cases, the issue traced back to either a poor anchor fit or the wrong type altogether.
How to Keep That Clean, Floating Look Long-Term
Part of why floating shelves are so striking is their sharp lines and lack of bulky metal support. There’s nothing breaking that clean visual. That only works if everything stays level long after the install.
If you take some time upfront to check your wall, use solid anchors, measure carefully, and balance your shelf contents, the HOVR system will perform as it’s meant to. But your work doesn’t end the day everything goes up. It’s smart to do a once-over every few months. Look for signs like a tilt at the ends or shifting brackets. These can give you an early warning before something bigger happens.
Each wall and home setup is different, and sometimes a few adjustments are part of the process. But once things are aligned and balanced, your HOVR floating shelf should last for years looking just like the day it was installed—subtle, sturdy, and right where it belongs.
To keep your shelves both stylish and sturdy, consider more than just their initial placement. Adjusting for weight, wall surface, and anchors ensures they remain level and aligned. If you're looking to upgrade or add to your space, explore our selection of HOVR floating shelf options at The Mortise & The Hare. Quality craftsmanship can make all the difference in how your shelves perform and look over time.
Share:
Personalizing Your Made-to-Order Wood Shelves for Each Room
What to Do When Your Hardwood Shelving Shows Gaps