Floating shelves are an amazing way to add style and storage to your space, but not all floating shelves are created equal. At The Mortise & The Hare, we’re all about heirloom-quality craftsmanship, and our real hardwood shelving is no exception. Paired with HOVR brackets for unparalleled strength, our shelves bring lasting beauty and functionality to your home. Here’s how to install them with confidence.
What You’ll Need:
- HOVR shelf bracket system (included with your purchase)
- Drill and drill bits
- Screwdriver
- Level
- Tape measure
- Stud finder
- Pencil
Step 1: Unbox and Prep
When you unbox your HOVR bracket system and your premium hardwood shelf from The Mortise & The Hare, you’ll immediately see and feel the difference. Each shelf is meticulously crafted from real wood, ensuring timeless character and durability. Familiarize yourself with the bracket components and check that everything is included. Lay the shelf on a soft surface to avoid scratches while you work.
Step 2: Find Your Studs
Floating shelves need a solid anchor, especially when supporting the weight of solid wood. Use your stud finder to locate the studs in your wall. Mark their location with a pencil—these marks will guide your bracket installation. If you can’t find studs in the right spots, you’ll need heavy-duty wall anchors that can handle the load.
Step 3: Measure and Mark
Decide where you want your shelf to go. Use a level and tape measure to mark a straight, even line on the wall where the bracket will be installed. Take your time here—precision ensures your handcrafted shelf will sit perfectly. Double-check that your marks align with the studs for maximum support.
Step 4: Install the Bracket
Hold the HOVR bracket against the wall, aligning it with your marks. Drill pilot holes where the screws will go. Then, attach the bracket to the wall using the provided screws, ensuring it’s level. If you’re using wall anchors, install them first according to the manufacturer’s instructions. HOVR brackets are designed for heavy-duty use, making them ideal for supporting real wood shelves.
Step 5: Attach the Shelf
Slide your hardwood shelf onto the HOVR bracket. The shelf should fit snugly and sit flush against the wall, showcasing its natural beauty. Secure the shelf to the bracket using the included set screws. Tighten these screws with a screwdriver to lock the shelf in place and ensure it’s as solid as the craftsmanship behind it.
Step 6: Check and Style
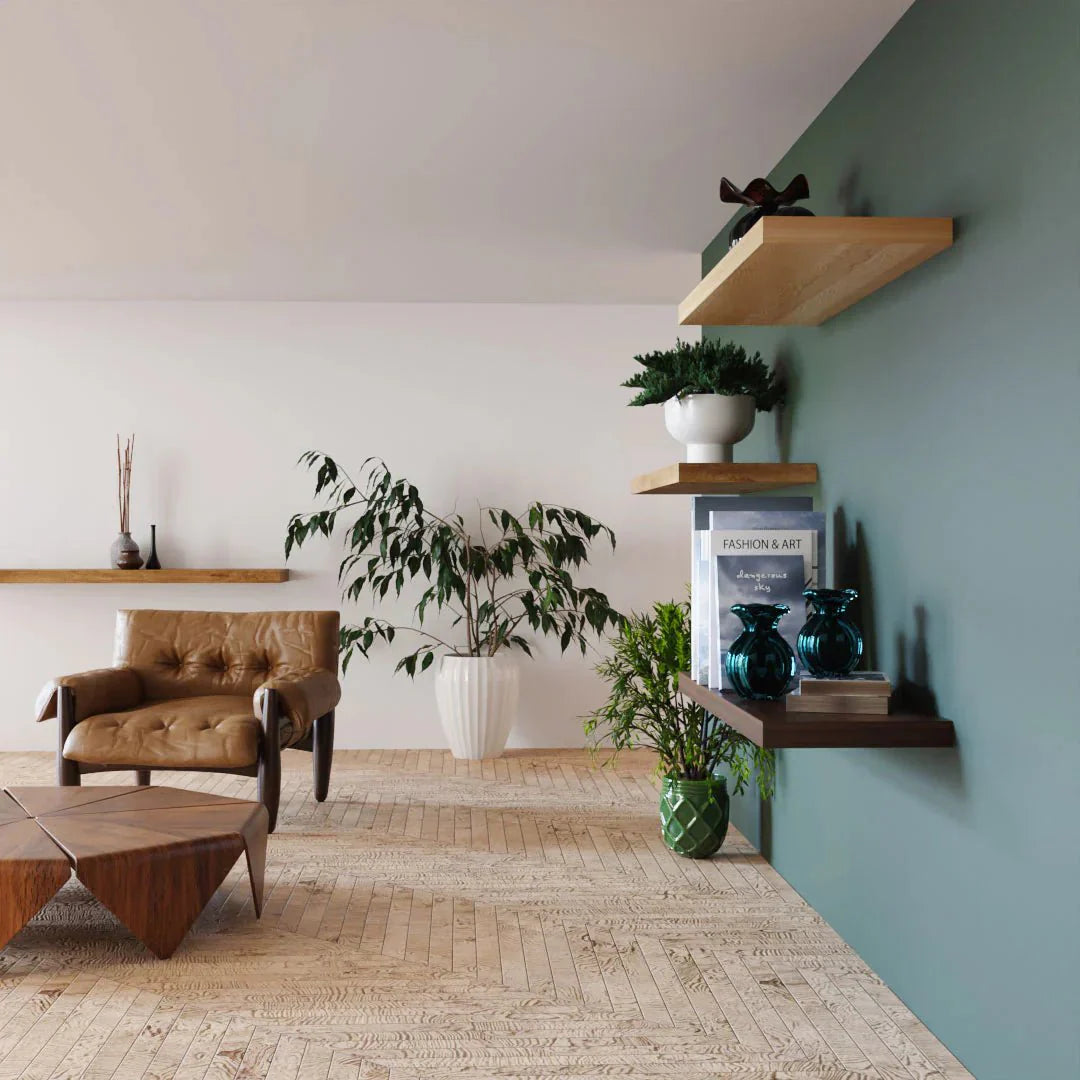
Use your level to ensure the shelf is perfectly horizontal. Once everything looks good, step back and admire your work! The rich tones and grains of your hardwood shelf will immediately elevate your space. Now it’s time to style your shelf with plants, books, and decor—and let the quality of real wood speak for itself.
Why HOVR Brackets and Real Wood Shelves?
At The Mortise & The Hare, we believe that the details matter. That’s why we pair our handcrafted hardwood shelves with HOVR brackets—the strongest and most reliable floating shelf system available. Whether it’s the character of walnut, the warmth of white oak, or the boldness of black oak, our shelves are built to last and designed to impress. The combination of solid wood and HOVR brackets ensures your shelves won’t just look good—they’ll perform beautifully for years to come.
Conclusion
Installing HOVR bracket shelves is a rewarding process that highlights the quality and craftsmanship of your investment. With these simple steps, your shelves will be secure, stunning, and ready to serve as the centerpiece of your space. Need help or have questions? Reach out to us at The Mortise & The Hare, where we’re always here to support your journey to timeless design and functionality.
Share:
How to Style Your Real Wood Shelves: Tips and Ideas
How to Choose the Perfect Floating Shelf for Your Home