


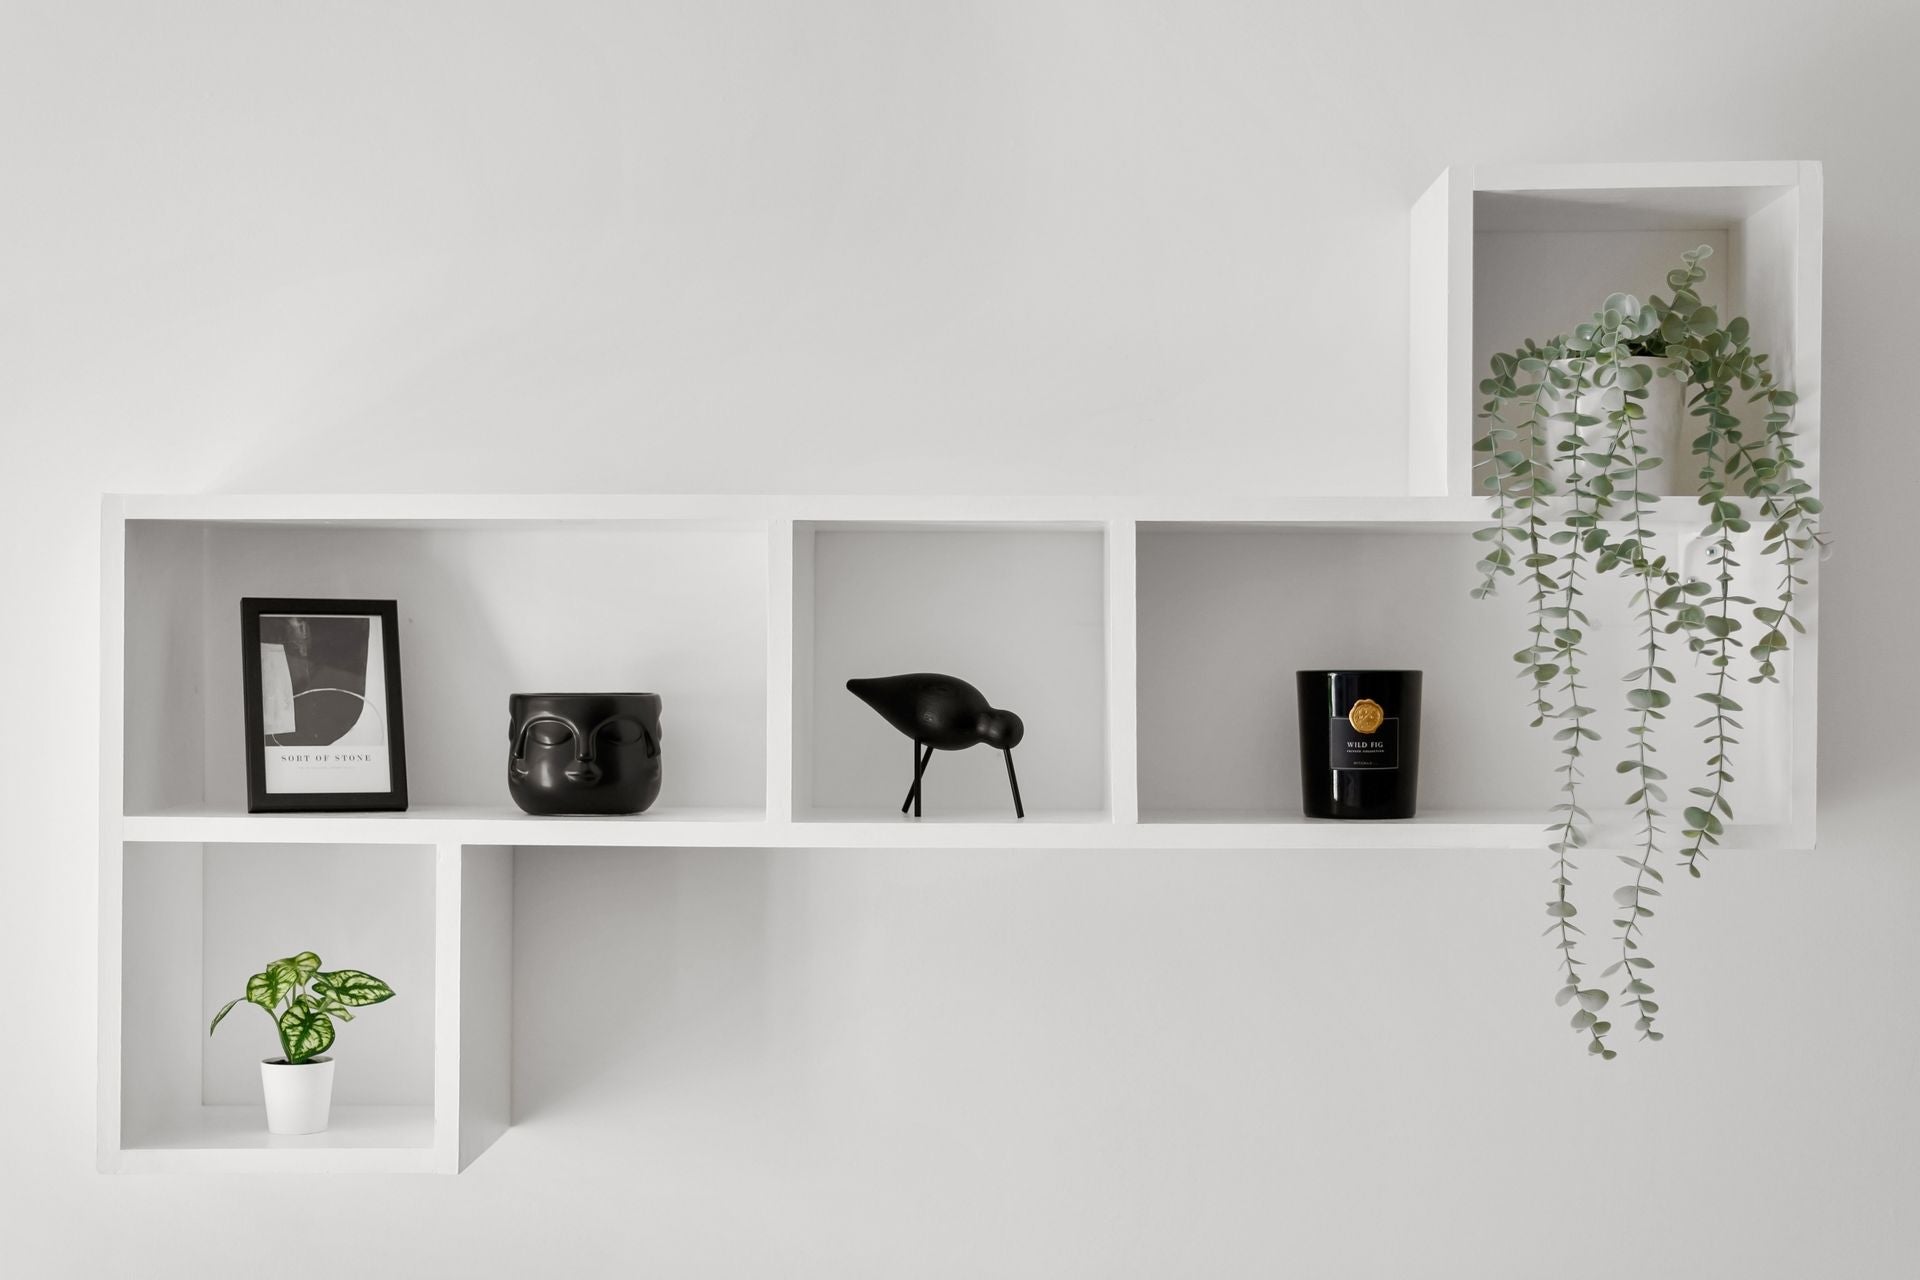
Get Perfectly Fitted Shelves on Imperfect Walls
Out-of-square walls are normal, especially in older homes or big remodels. Corners are not truly 90 degrees, drywall bows, and mud buildup can create random humps. Standard floating shelves often end up with weird gaps, crooked lines, or hardware peeking out where you do not want to see it.
The goal with custom-sized floating shelves is different. We want shelves that look like they grew out of the wall, with tight, even reveals, no visible brackets, and no sag when they are full of dishes or books. To get there, you need smart measuring, the right hardware, and a plan for how to deal with those less-than-perfect walls.
In this guide, we will walk through how we think about layout, how to measure for wonky spaces, what scribes and fillers really do, and how the Hovr Bracket System helps you hit actual studs even when your design and the framing do not line up.
Why Solid Hardwood Matters for Custom Shelves
When you are dealing with out-of-square walls, the material of the shelf matters a lot. Solid Walnut, White Oak, Maple, and Red Oak behave very differently from veneer over MDF.
Solid hardwood gives you:
- Real screw-holding strength for brackets
- Long-term flatness when finished well
- The ability to carefully trim or scribe edges on site
- Crisp edges that stay sharp instead of getting fuzzy
Veneer and MDF can work in perfect conditions, but once you start trimming, you quickly cut through the thin face layer into the core. That is where you see chipping, broken corners, and swelling from humidity. In a kitchen or bathroom, with steam and seasonal swings, that is a problem.
With solid hardwood, the beauty runs all the way through. End grain, color shifts, and figure make the shelf feel like a real piece of furniture. Paired with natural oiling or hardwax oils like Rubio Monocoat or Osmo, you get depth and warmth, not the plastic shine of cheap polyurethane. On White Oak, we may lightly tone the finish if you want a specific shade, but we still let the grain lead the show.
Designing the Layout for Your Space
Before you ever pick up a tape measure, think about how you will use the shelves. Heavy dinnerware and stacks of cookbooks need more depth and strength than minimalist styling with a few vases.
Common starting points:
- Kitchen open shelves: 9- to 11-inch depth for plates and glasses
- Living room alcoves: 10- to 12-inch depth for books and decor
- Bathrooms: 6- to 9-inch depth for towels and small items
Next, look at sightlines. Strong layouts usually tie shelf heights to something already in the room: the bottom of upper cabinets, window heads, door trim, or tile lines. For Mid-Century Modern, Scandi, or Japandi spaces, that rhythm is what makes the room feel intentional.
Also watch for:
- Faucet and range hood clearances
- Outlets, switches, and thermostats
- Tile or paneling edges, especially where you might want a tiny reveal instead of a forced tight fit
In some cases, it is better to plan a small painted filler strip at one side instead of trying to jam a full wall-to-wall shelf into a wildly out-of-square nook. Other times, a true full scribe is worth the effort.
How to Measure Out-of-Square Walls with Confidence
Good custom-sized floating shelves start with honest measurements. Not best-case numbers, but what is really there.
Simple tools are enough:
- Tape measure
- 4-foot level
- Straightedge or long board
- Painter’s tape and a pencil
Measure the wall in at least three spots: front, center, and back. Do this at several points along the run. If those numbers are different, note them on a quick sketch. Use your level and straightedge to check for bows, dips, or humps in the drywall. Corners that are not 90 degrees will show up when you hold the level across them.
For tricky alcoves or walls that twist, a template can save a lot of frustration. Thin cardboard or plywood works well. Cut it to fit the opening, trim until it slides in and out cleanly, and mark front, top, and room location clearly. We can build directly from a good template, which is especially helpful when schedules are tight and walls are already finished.
Scribes, Fillers, Tolerances, and the Hovr Bracket System
There are two main ways to get that built-in look: scribing the shelf itself or adding fillers.
Scribing means carefully trimming the hardwood shelf edge so it matches the wall profile. This works nicely against painted drywall or plaster, and with solid hardwood you are not worried about cutting through thin veneer. A small filler, usually painted to match the wall or trim, is helpful when tile lines are harsh or when one side of the nook is way out of square.
We also plan for tolerances. You do not want the shelf exactly the size of the tightest spot. You want just enough wiggle room to slide it in without chewing up paint or tile, but not so much that the gap is obvious. With painted walls, slightly undersized shelves and a small bead of painter’s caulk can create a soft, clean line. With tile, we might suggest a thin scribe strip to protect that crisp edge.
Behind it all is the Hovr Bracket System. The Classic and Slim versions are made from 6063-T6 aircraft-grade aluminum. The male bracket mounts to the wall, the female bracket is embedded inside the shelf. They interlock and lock down with a set screw, creating a rigid, no-sag connection that does not tilt over time like simple rod brackets.
The Classic bracket has an average load capacity of 300 pounds at 8-inch depth and is rated 13 times stronger than standard brackets. That strength is not just a nice number, it is real peace of mind for heavy dinnerware, big book runs, and busy households. Because the wall-side bracket can straddle multiple studs, you can secure your shelf to real structure even when the studs do not line up exactly with your design.
Planning Studs, Ordering, and Installing Like a Pro
If you are working with new tile or fresh drywall, planning ahead pays off. Use a reliable stud finder and a few test holes before finishes go in. Mark stud centers and desired shelf heights with painter’s tape. If tile is coming, decide if the Hovr bracket will go on first, with tile cut around it, or if it will mount on top of the finished tile.
When you are ready to order from us, we’ll ask for:
- Shelf width, depth, and thickness
- Intended load and use
- Wall type and whether the shelf is open or in an alcove
- Notes on bows, angles, or full scribes, plus sketches, photos, or templates
Then you choose your hardwood and finish. Walnut brings warmth for Mid-Century or rich Minimalist rooms. White Oak is calm and classic, great for Japandi and Scandi spaces, with optional light toning. Maple is bright and clean, Red Oak offers grain with character. We apply natural finishes or hardwax oils that keep the wood looking and feeling like wood.
In the shop, we embed the Hovr female bracket precisely, build in realistic install tolerances, and prep the shelves so they are ready for a smooth install. In the box, you get the shelf, the matching Hovr bracket, appropriate fasteners, and clear guidance.
On site, mount the Hovr male bracket level, hitting studs anywhere along its run so the bracket becomes part of the wall. Check for dead-flat and level. Then slide the shelf onto the bracket, tighten the set screw, and confirm level front to back and side to side. Any tiny gaps can be tuned with painter’s caulk for a soft look, or left as a small, intentional shadow line for a crisp modern feel.
Done well, even tricky walls turn into seamless, solid hardwood shelves that feel like they belong there and will stay that way through many seasons. At The Mortise & The Hare, that is the kind of work we enjoy building for homeowners and designers who care about the details.
Transform Your Space With Made-to-Measure Shelving
Bring your design vision to life with our handcrafted custom-size floating shelves tailored to your exact dimensions and style. At The Mortise & The Hare, we carefully select premium materials and finishes so your shelves look beautiful and perform reliably for years. Share your measurements, inspiration photos, or questions and we will help you choose the right options for your room. If you are ready to start planning your project, simply contact us and we will guide you through every step.
Share:
Custom-Depth Kitchen Wall Shelves: Plan Clearance, Sightlines, and Workflow
Custom Floating Shelves: USA-Made for Modern Minimalist Homes